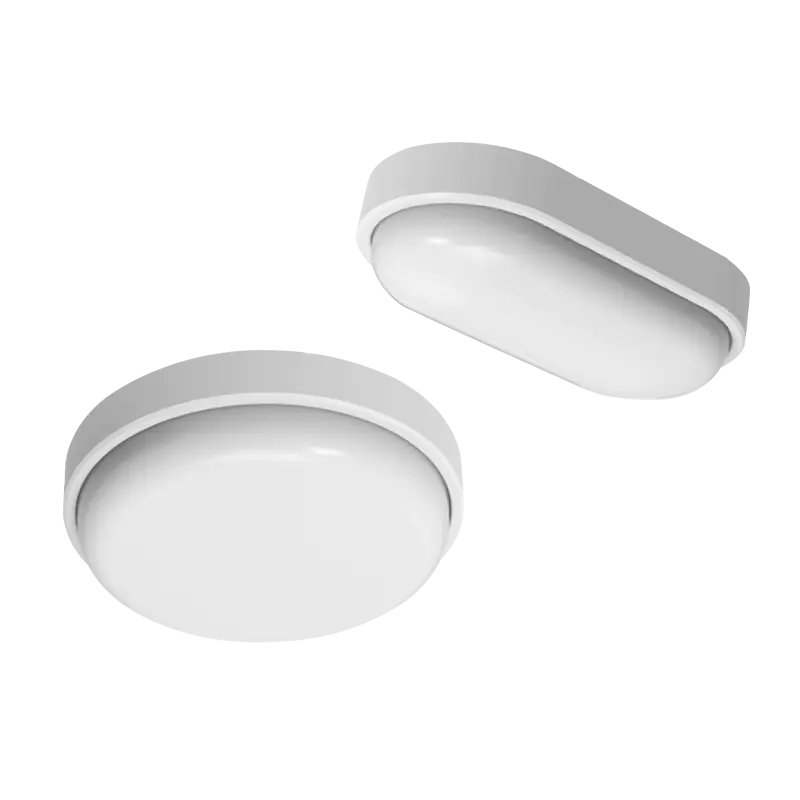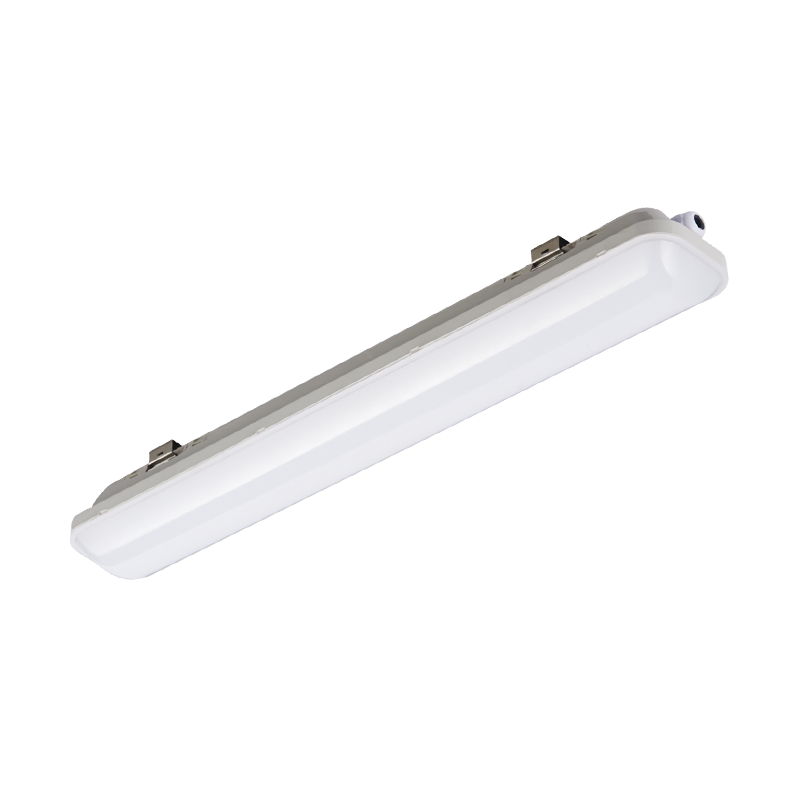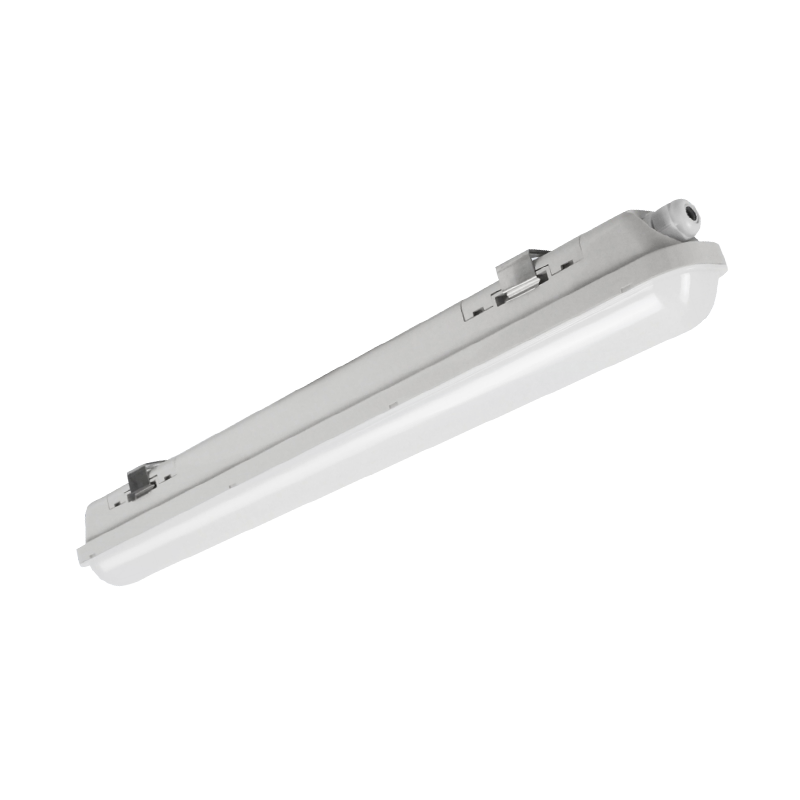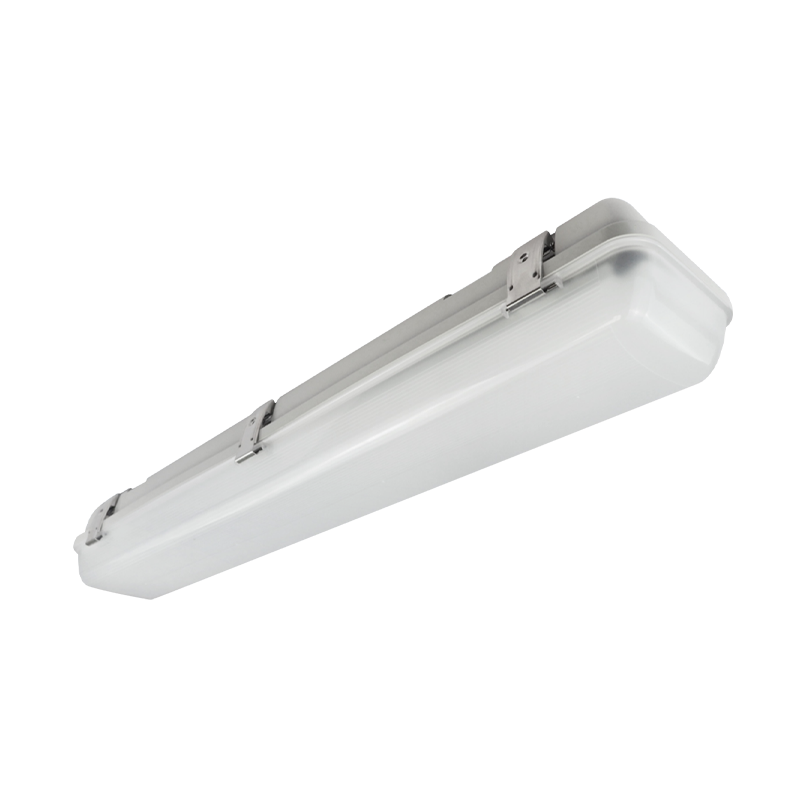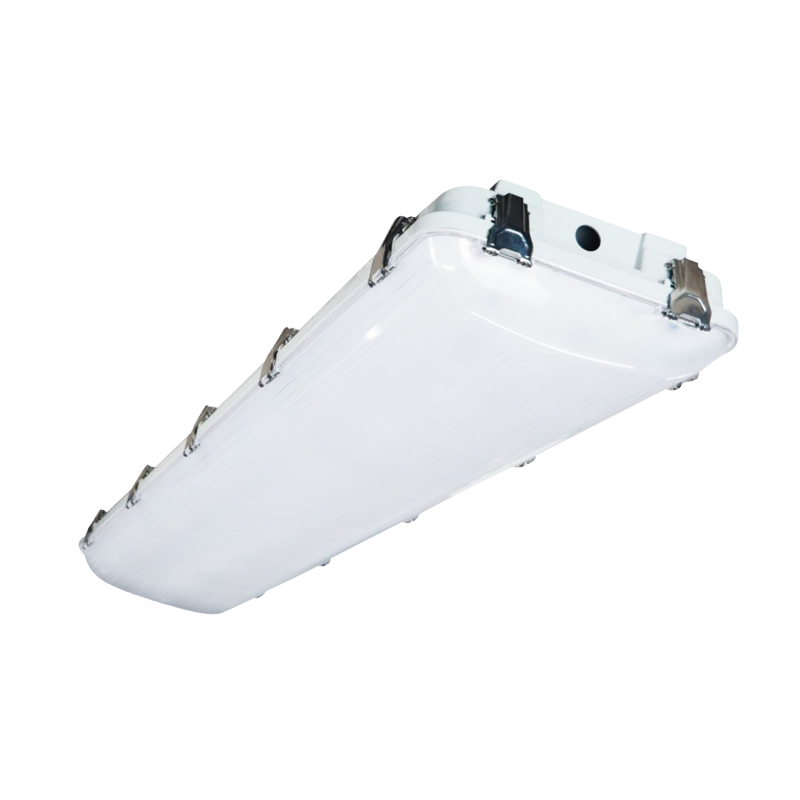


You have the new LED fixture on the workbench, the old unit is already down, and a pair of supply wires is waiting at the ceiling box. That is the moment most property owners and facility managers ask the practical question: do I need an electrician to install LED lights? The short answer: screw-in bulbs, plug-in fixtures, and surface-mounted luminaires connected to an existing junction box are DIY work in most regions, while hardwired recessed fittings, new branch circuits, and outdoor wet-location wiring belong to a licensed electrician. The sections below explain where the boundary sits, what it costs to ignore it, and how choosing the right fixture can simplify the job.
Code authorities in most countries treat a like-for-like fixture replacement as a task a competent homeowner can perform, provided the circuit is isolated and the existing wiring is undamaged. That creates a practical DIY lane for several LED projects:
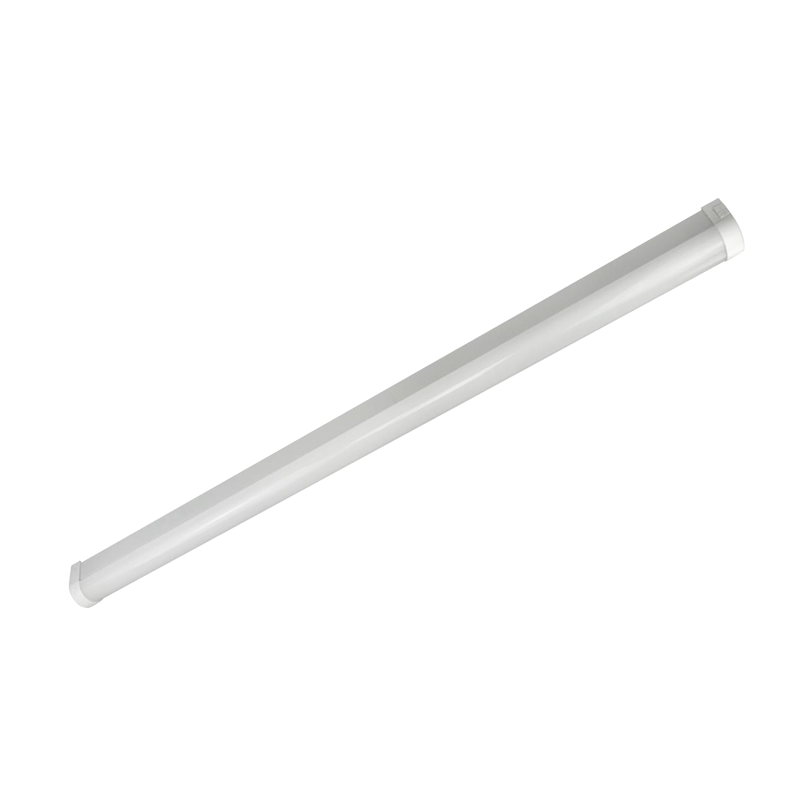
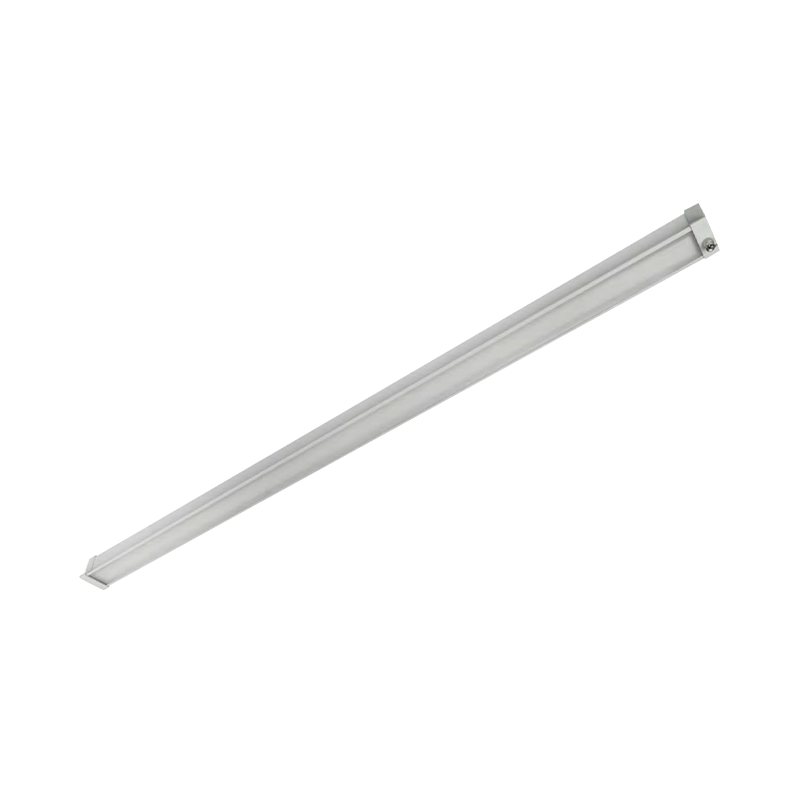
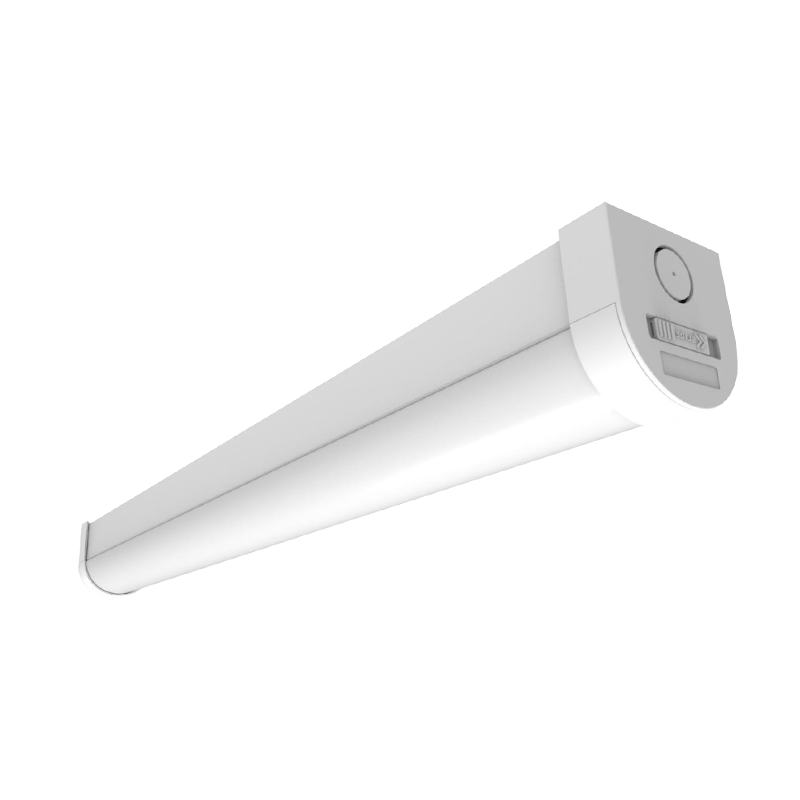
These jobs change nothing in the fixed wiring. You switch off the supply breaker, confirm zero voltage with a two-pole tester, and follow the manufacturer's wiring diagram. A fixture that uses a clearly marked terminal block and a separate terminal compartment makes the task considerably safer. The LG15D slim LED batten fitting, for instance, is an IP20 fixture with a 120-degree beam angle and a direct-mount base designed for standard junction box spacing, so there is less room for terminal mix-ups during installation.
A well-designed batten also cuts lighting energy use by more than 50 percent when it replaces old fluorescent tubes; the high-efficiency design behind that saving is covered in our article on LED batten fitting energy savings.
 LG15D Slim LED Batten Fitting with 120° Beam Angle and IP20This slim LED batten offers multiple power and color temperature options with high luminous efficiency up to 150 lm/W. Its simple slide-switch opening and cable entry at both ends suit quick installation in dry indoor areas.View Product →
The picture changes when the job touches the building's permanent wiring or when the fixture location demands special protection. These conditions call for a licensed electrician in almost every jurisdiction:
Why the strict rule? Fixed wiring is regulated because a mistake that leaves a loose connection, reversed polarity, or an ungrounded metallic body can create a shock or fire risk long after the installer has left the site. Insurance policies and building inspections take the same view, so even a simple fixture swap inside a commercial building often requires a qualified electrician to sign off. Specifying a fixture with a plug and cord is one of the few legitimate ways to stay outside that regulated zone.
The table below summarises the typical permit requirement, installation effort, and risk level associated with common LED installation jobs.
| Job type | Permit usually required? | Typical time | Risk if done incorrectly |
|---|---|---|---|
| Screw-base LED bulb | No | 5 minutes | Very low |
| Cord-and-plug shop light | No | 15 minutes | Low |
| Surface-mounted fixture on an existing junction box | No in most residential areas | 30-60 minutes | Moderate |
| Recessed retrofit into an existing housing | Usually no | 20-40 minutes per light | Moderate |
| New hardwired circuit for LED lighting | Yes | Half a day | High |
| Outdoor wet-location fixture | Often yes | 2-4 hours | High |
Reading the table, the pattern is simple: the more the job alters the building's fixed wiring, the higher the technical risk and the more likely a permit is needed. A surface-mounted fixture on an existing box sits in the middle because the connection point already exists, but the installer still handles live terminals and must get the earthing right.
Relative installation risk for common LED projects:
A significant share of LED warranty returns and early failures trace back to installation shortcuts rather than component quality. These are the most common mistakes we encounter as a lighting manufacturer:
Feeding a 24V LED strip with a 12V supply produces uneven brightness and erratic flicker, while the reverse can damage the LEDs within minutes. Always match the driver output voltage to the fixture's rated value.
An IC-rated recessed housing is mandatory when thermal insulation is present. Non-IC housings rely on free air circulation, and covering them with insulation is one of the most common causes of premature driver failure.
LED circuits are polarity sensitive. Swapping the positive and negative cables on a module prevents it from lighting and can damage the constant-current driver inside.
The results include buzzing, strobing, and fixtures that stay at full brightness regardless of the control. Verify that both the lamp and the dimmer are listed as LED-compatible before wiring.
Crushing aluminum conductors or stripping copper strands creates a high-resistance joint that heats up gradually over months of operation. A firm half-turn beyond initial contact achieves the correct torque in most terminal blocks.
Voltage drop becomes visible beyond roughly 10 metres of 1.5 mm squared cable on a 12V circuit, leading to noticeably dimmer LEDs at the far end and potential flicker as the supply dips.
One of the least understood parts of LED installation is the interaction between the dimmer and the LED driver. A well-made fixture can appear faulty simply because it is connected to an old leading-edge dimmer designed for 50 W halogen loads. LED circuits draw far less current, and many dimmers need a minimum load to switch cleanly; below that threshold the triac behaves erratically, producing visible flicker and sometimes an audible hum from the driver.
The correct order is: choose an LED-rated dimmer first, confirm the fixture is genuinely dimmable, and check whether it needs trailing-edge or leading-edge control. Fixtures that integrate the dimming function into the driver, such as the adjustable anti-glare dimmable LG19D LED bulkhead, take much of the guesswork away because the control signal and the driver are engineered as one system.
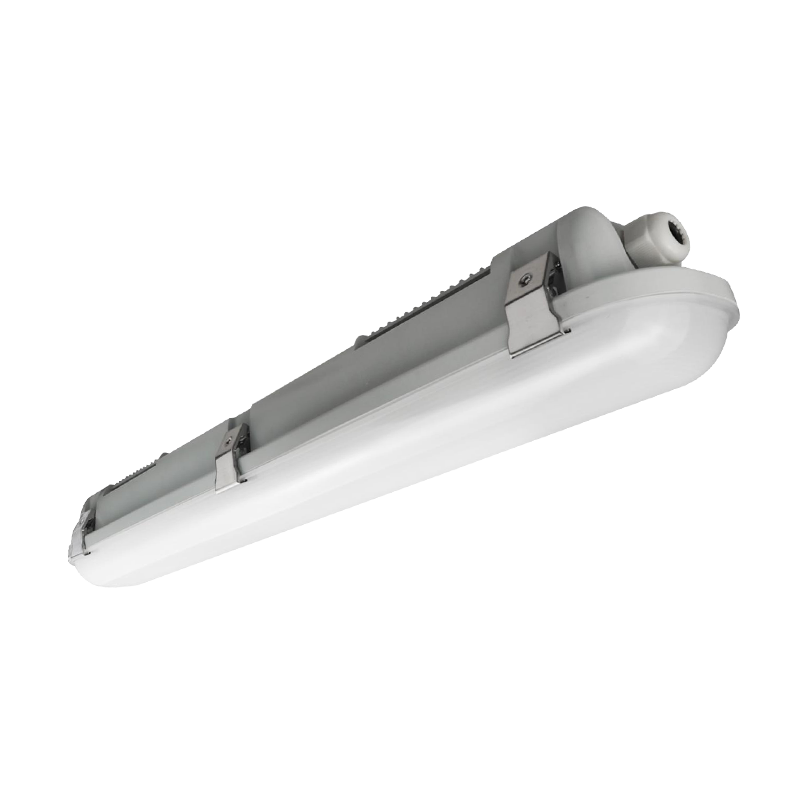
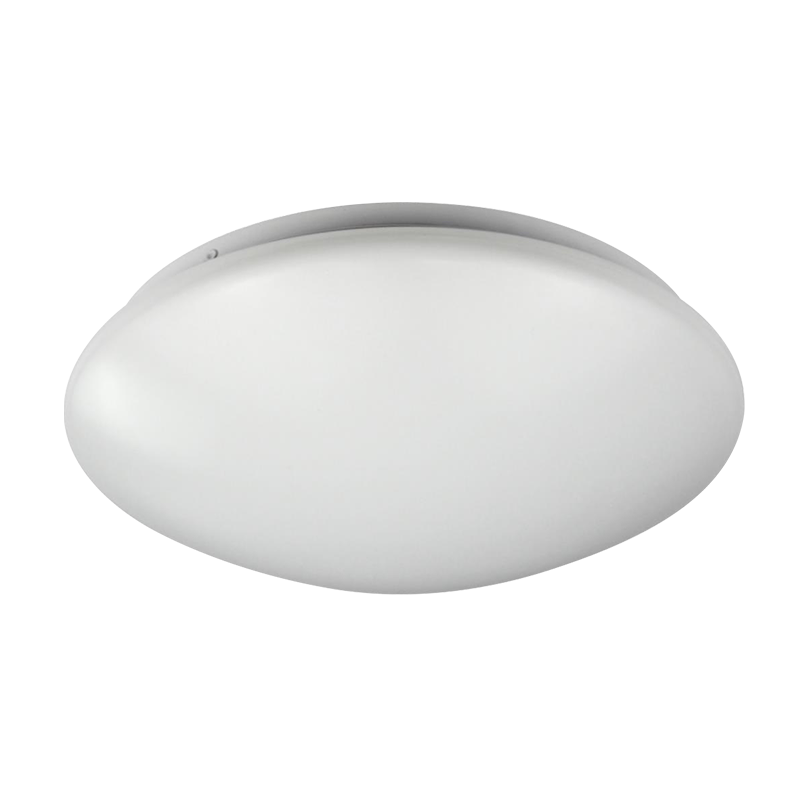
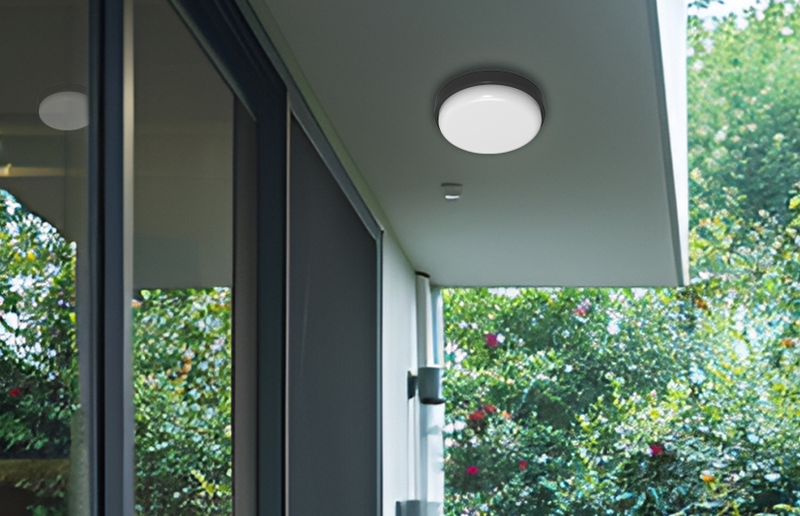 LG19D Adjustable Anti-glare Dimmable Indoor LED BulkheadFeaturing integrated dimming and a PIR sensor option, this IP54 bulkhead provides flexible, energy-efficient lighting for indoor spaces. The adjustable anti-glare design and border color choices fit a variety of ambient settings.View Product →
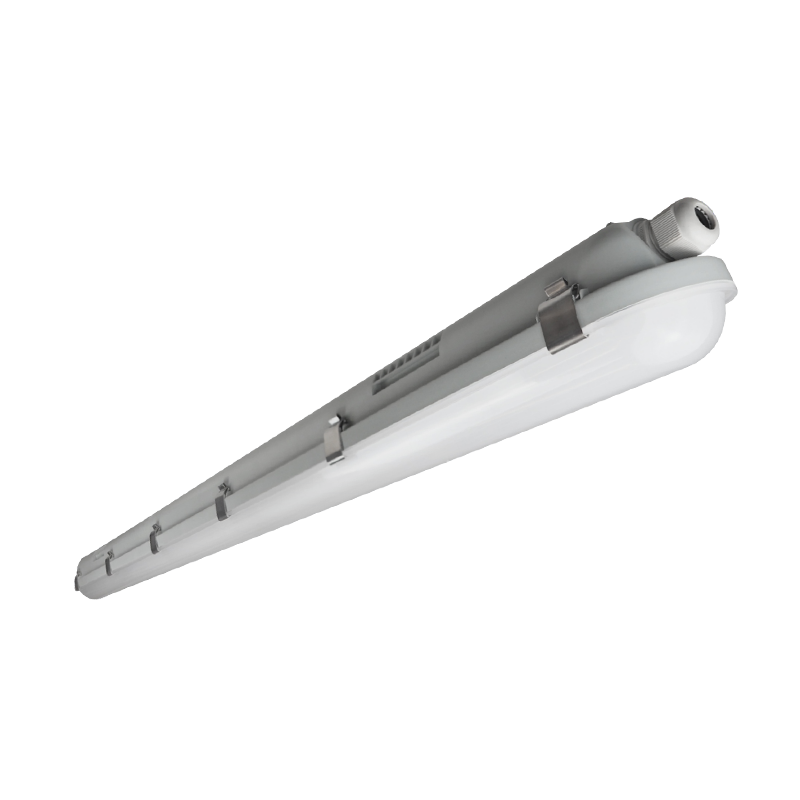
Another practical way to minimise the amount of electrical work done on site is to specify fixtures with factory-fitted cords and plugs. The LG22B LED shop light is a typical example: it arrives with a grounded power cord, so installers can suspend it from chains or hooks and connect it to a ceiling outlet without opening any wiring enclosure. This removes the highest-risk part of the work, the mains connection, from the job altogether.
If a hardwired installation is unavoidable, plan a regular maintenance routine that includes cleaning the optical cover, checking terminal torque, and inspecting cable glands. Our technical guide to maintaining LED tri-proof lights explains the recommended intervals and methods in detail.
 LG22B High Bay 55W LED Shop Light for Commercial WarehousesThis 55W high bay shop light delivers up to 7700 lumens with a wide 120° beam angle. It includes a pull switch and can link up to eight units, making it a practical option for warehouse and workshop illumination.View Product →
Yes. Screw-base LED bulbs are designed as direct replacements. Switch off the light at the wall switch, allow the old bulb to cool, and respect the wattage rating marked on the luminaire. In enclosed fixtures, check the bulb's maximum operating temperature, because trapped heat can shorten LED life.
Only if the strip is being connected to the mains supply. A 12V or 24V LED strip powered by a listed plug-in adapter is a DIY task. Hiding the driver in a ceiling void and connecting its input to a lighting circuit, however, is fixed wiring and requires an electrician in most jurisdictions.
Retrofit kits that fit an existing housing work well in recessed applications, but the rating labels matter. An IC-rated housing is needed where insulation can cover the fixture, and the kit's connector must match the housing type. If the housing is damaged, corroded, or non-IC, replacing the whole fixture with a canless design carried out by a licensed electrician is the better option.
In our experience, the two leading causes are installing a non-dimmable LED on a dimmer and supplying the wrong driver voltage. Both create a stressed electrical environment that gradually damages the LED chips and the electrolytic capacitors in the driver.
Outdoor work introduces waterproofing rules that some indoor-only electricians may not apply consistently. Look for a contractor familiar with IP65 and IP66 enclosure fittings, cable gland selection, and the requirement for a weatherproof junction box. These details matter even more in washdown areas, chemical plants, and covered parking structures.
Schedule routine inspection of all hardwired fixtures instead of waiting for failures. Cleaning optical covers, re-torquing terminals, and verifying that cable glands remain sealed reduces intermittent faults significantly. Choosing plug-and-play fixtures for new installations further cuts future labour costs.



No.8, Ankang West Road, Zonghan Street, Cixi City, Zhejiang Province, P.R.China
0086-574-6320 0283
Copyright © Ningbo Longer Lighting Co., Ltd.
All Rights Reserved.
 Wholesale LED Lighting Fixtures Manufacturers

 Deutsch