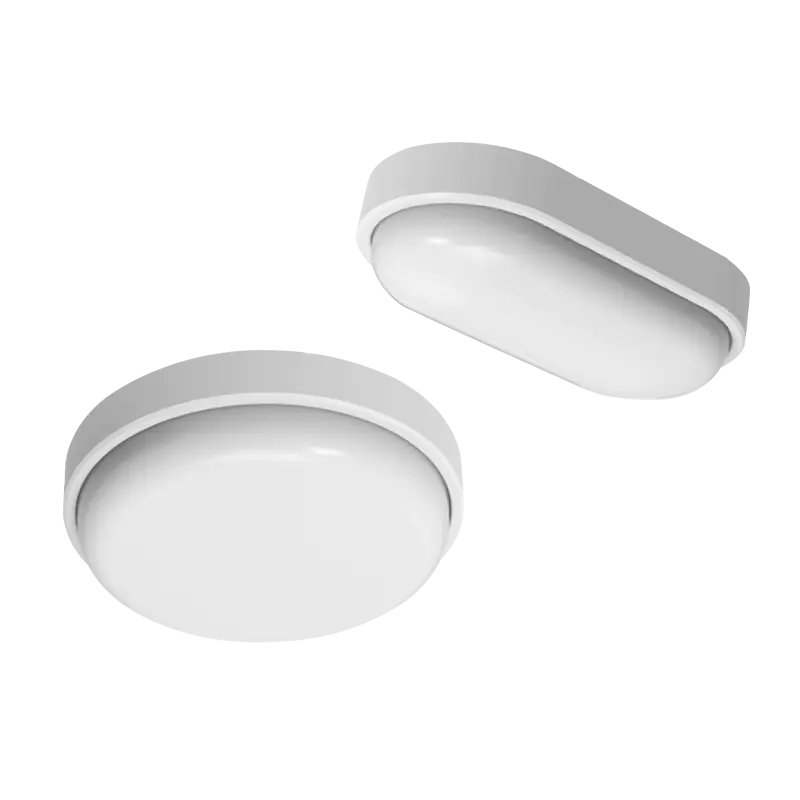
In the 2026 interior design landscape, Trimless ceiling lights have become a standard configuration for high-end residential and commercial spaces. The ultimate visual effect of "seeing the light but not the fixture" is achieved by completely embedding the lamp frame into the ceiling and realizing a smooth transition, eliminating the abruptness of traditional lighting. However, achieving this perfect sense of airiness requires an installation process far more complex than ordinary fixtures, demanding high coordination between electricians, carpenters, and painters.
The installation logic of Trimless fixtures follows the principle of "pre-embed first, install later." During the ceiling gypsum board installation phase, a precise Cutout must be made according to the lamp specifications. Unlike ordinary lamps fixed by spring clips, trimless lamps are equipped with a dedicated Mud-in Frame.
Positioning and Reinforcement: Since trimless ceiling lights are often large and have significant weight, the installation position must avoid the main and secondary keels. At the edge of the opening, it is recommended to add secondary keel structural reinforcement to prevent the plaster layer from cracking later.
Frame Fixation: Embed the pre-embedded frame into the opening and use stainless steel countersunk screws to fasten the frame side wings to the gypsum board. Ensure that the frame and the gypsum board surface are on the exact same horizontal line.
Cable Reservation: Primary wiring must be completed at this stage, reserving sufficient lengths of L/N/G wires to connect the LED Driver later.
This is the critical step that determines the success or failure of the Trimless effect. After installing the frame, visible gaps and screw holes remain on the ceiling, which must be treated with professional Joint Compound.
Gap Filling: Use high-strength putty to fill the gaps between the frame and the gypsum board. To enhance structural stability, it is highly recommended to apply Fiberglass Mesh Tape at the joints. This is a core step to prevent radial cracks caused by thermal expansion and contraction of the ceiling.
Plastering and Sanding: Perform at least three rounds of plastering. After each layer of putty dries, use fine sandpaper for smooth grinding. The final requirement is for the frame edge to merge with the ceiling into a single entity, with no perceptible bumps or unevenness.
Track Cleaning: Before applying the final emulsion paint, the interior of the frame must be cleared of dust and putty residue to ensure the lamp body does not sit incorrectly due to foreign objects during final assembly.
Once the paint is completely dry, enter the Second Fix stage.
Trimless ceiling lights usually feature a modular design. First, connect the power driver to the reserved wires, then push the LED Engine into the pre-embedded frame. Most professional-grade trimless fixtures utilize a Click-fit or magnetic structure, locking into place with a simple push.
Before powering on, check the Flushness of the fixture. If a tiny gap remains between the lamp edge and the ceiling, adjust the precision adjustment screws within the frame. For large-scale Frameless Panels, a light distribution test should also be conducted to ensure no dark shadows are produced by installation offsets.
Evolution from Ultra-Narrow Bezel to Absolute Zero Bezel: With advances in material science, 2026 lamp frames utilize thinner, higher-strength composite carbon fiber materials. This means Mud-in depth is further reduced, allowing for complete invisibility even on extremely thin compact laminate ceilings.
Deep Integration of Smart Sensing Technology: Future Trimless ceiling lights are no longer just lighting tools but integrated hubs for mmWave Radar and ambient light sensors. These sensors are hidden behind the light-transmitting panel, achieving precise human presence sensing without additional holes.
Color Consistency and High Color Rendering Standards: Full Spectrum technology has become standard. The industry is moving toward Ra > 98 and R9 > 95 to provide indoor environments that closest mimic natural light. Meanwhile, Tunable White technology allows trimless fixtures to simulate circadian rhythms from sunrise to sunset.
Standardization and Toolization of Installation: To reduce dependence on manual skill, the industry is promoting "Integrated Pre-embedded Components." These components integrate levelers and junction boxes, greatly shortening the construction cycle and reducing the probability of installation failure.


No.8, Ankang West Road, Zonghan Street, Cixi City, Zhejiang Province, P.R.China
0086-574-6320 0283
Copyright © Ningbo Longer Lighting Co., Ltd.
All Rights Reserved.
 Wholesale LED Lighting Fixtures Manufacturers

 Deutsch