In modern lighting projects, efficient and energy-saving lighting solutions have become the core of infrastructure construction. led ceiling lights are widely used in various indoor spaces due to their high luminous efficiency and long lifespan. However, facing increasing maintenance demands, mastering standardized operational procedures is crucial to ensuring system stability. This article analyzes the technical aspects of lamp replacement and installation to help technical personnel and users optimize their lighting environments.
As a professional manufacturer, we focus on engineering durability into every led ceiling lights unit. Unlike standard retail products, our items undergo rigorous thermal aging tests and stress simulations to ensure long-term performance in high-humidity and high-temperature environments.
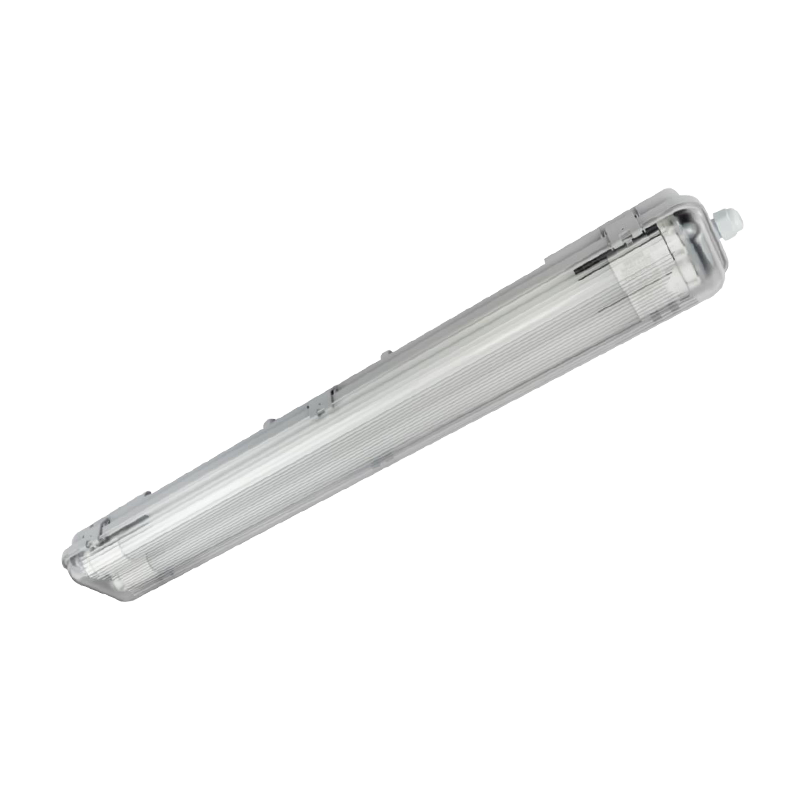
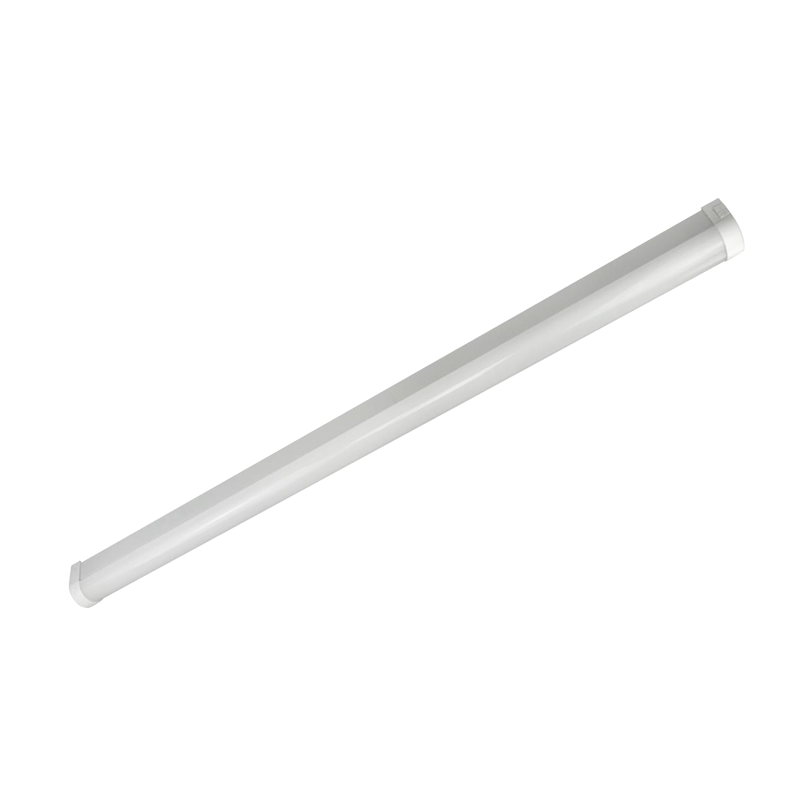
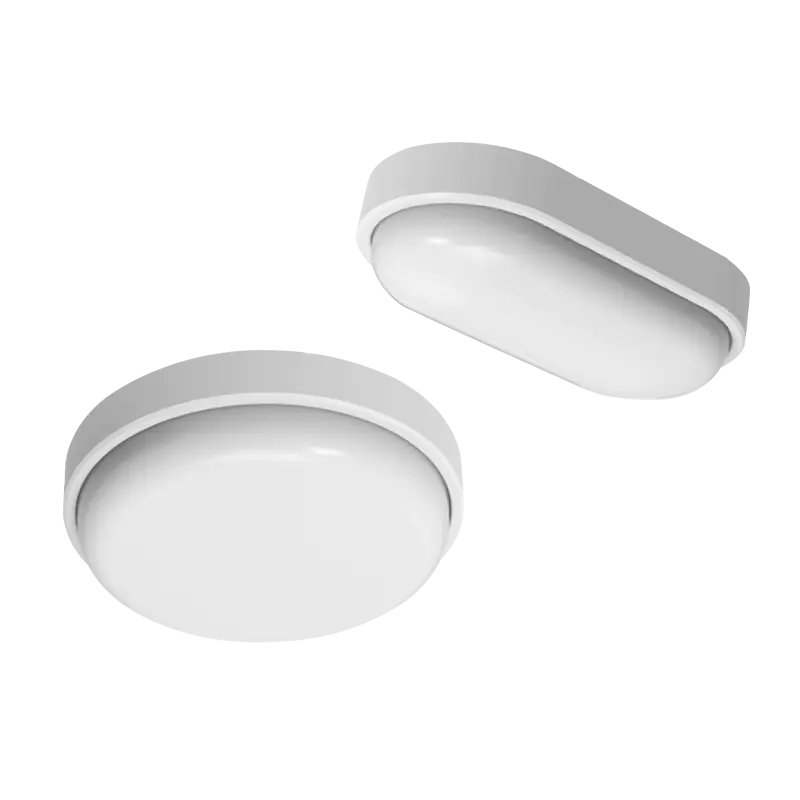
When selecting lighting solutions, understanding the physical characteristics of different lamps is the first step in ensuring installation quality. Compared with traditional light sources, led flush mount ceiling light offers significant performance advantages.
| Technical Parameters | LED Ceiling/Flush Mount Light | Traditional Incandescent/Fluorescent |
| Luminous Efficacy (lm/W) | 90 - 130 | 15 - 60 |
| Average Lifespan (hours) | 30,000 - 50,000 | 1,000 - 10,000 |
| Heat Output | Low (Heatsink design) | High (Infrared radiation) |
| Startup Time | Instant-on | Flicker or delay |
| Parameter | Our Engineered Standards | Industry Baseline |
| Driver Efficiency | > 92% | 80% - 85% |
| Lumen Maintenance | L80 at 50,000 hrs | L70 at 30,000 hrs |
| Operating Temperature | -20°C to +45°C | 0°C to +40°C |
When performing how to replace led ceiling light or how to change led ceiling light, it is mandatory to strictly adhere to electrical safety standards. Power verification is critical: do not rely solely on the wall switch. You must cut off the circuit breaker at the main distribution board and use a voltage tester to verify that no current is passing through the fixture wiring.
To remove old fixtures, detach the lamp cover and loosen the fixing screws or spring clips. After supporting the weight of the lamp body, separate the Live (L), Neutral (N), and Ground (G) wires. When connecting the new fixture, use twist-on wire connectors to ensure a tight connection and prevent heating hazards.
For how to install led recessed lighting in existing ceiling, professional installation is key. Our brackets are designed with adjustable tension clips to fit various drywall thicknesses. Use a stud finder to avoid joists and conduits before cutting holes. Always ensure fixtures are IC-rated if insulation material is present.
The core of recessed installation lies in the spring structure. Once wired, place the fixture into the hole and push the side spring clips upward into the reserved space, utilizing spring tension to stabilize the lamp. When installing multiple units in series, calculate the total power to ensure it remains within the rated load of the circuit breaker.
We maintain a strictly controlled production environment. Every batch of led ceiling lights undergoes a 24-hour burn-in process. During daily maintenance, avoid covering LED fixtures with insulation materials unless they are IC-protected. If flickering occurs, check for loose daisy-chain connections or terminal blocks before considering a driver replacement. Use a dry, anti-static cloth for cleaning to preserve the optical refraction layer.


No.8, Ankang West Road, Zonghan Street, Cixi City, Zhejiang Province, P.R.China
0086-574-6320 0283
Copyright © Ningbo Longer Lighting Co., Ltd.
All Rights Reserved.
 Wholesale LED Lighting Fixtures Manufacturers

 Deutsch